How to Grow Kumara tipu from Supermarket Kumara
Kumara, also known as sweet potato, is a nutritious and delicious root vegetable that is surprisingly easy to grow at home—even from supermarket-bought kumara With a little patience and care, you can turn store-bought tubers into a full crop.
Here’s how you can do it.
Choosing the Right Kumara
Not all supermarket kumara will sprout, as some are treated to prevent sprouting. Look for organic or locally grown kumara to increase your chances of success. Choose firm, healthy tubers without signs of rot or damage.
Preparing the Kumara for Sprouting
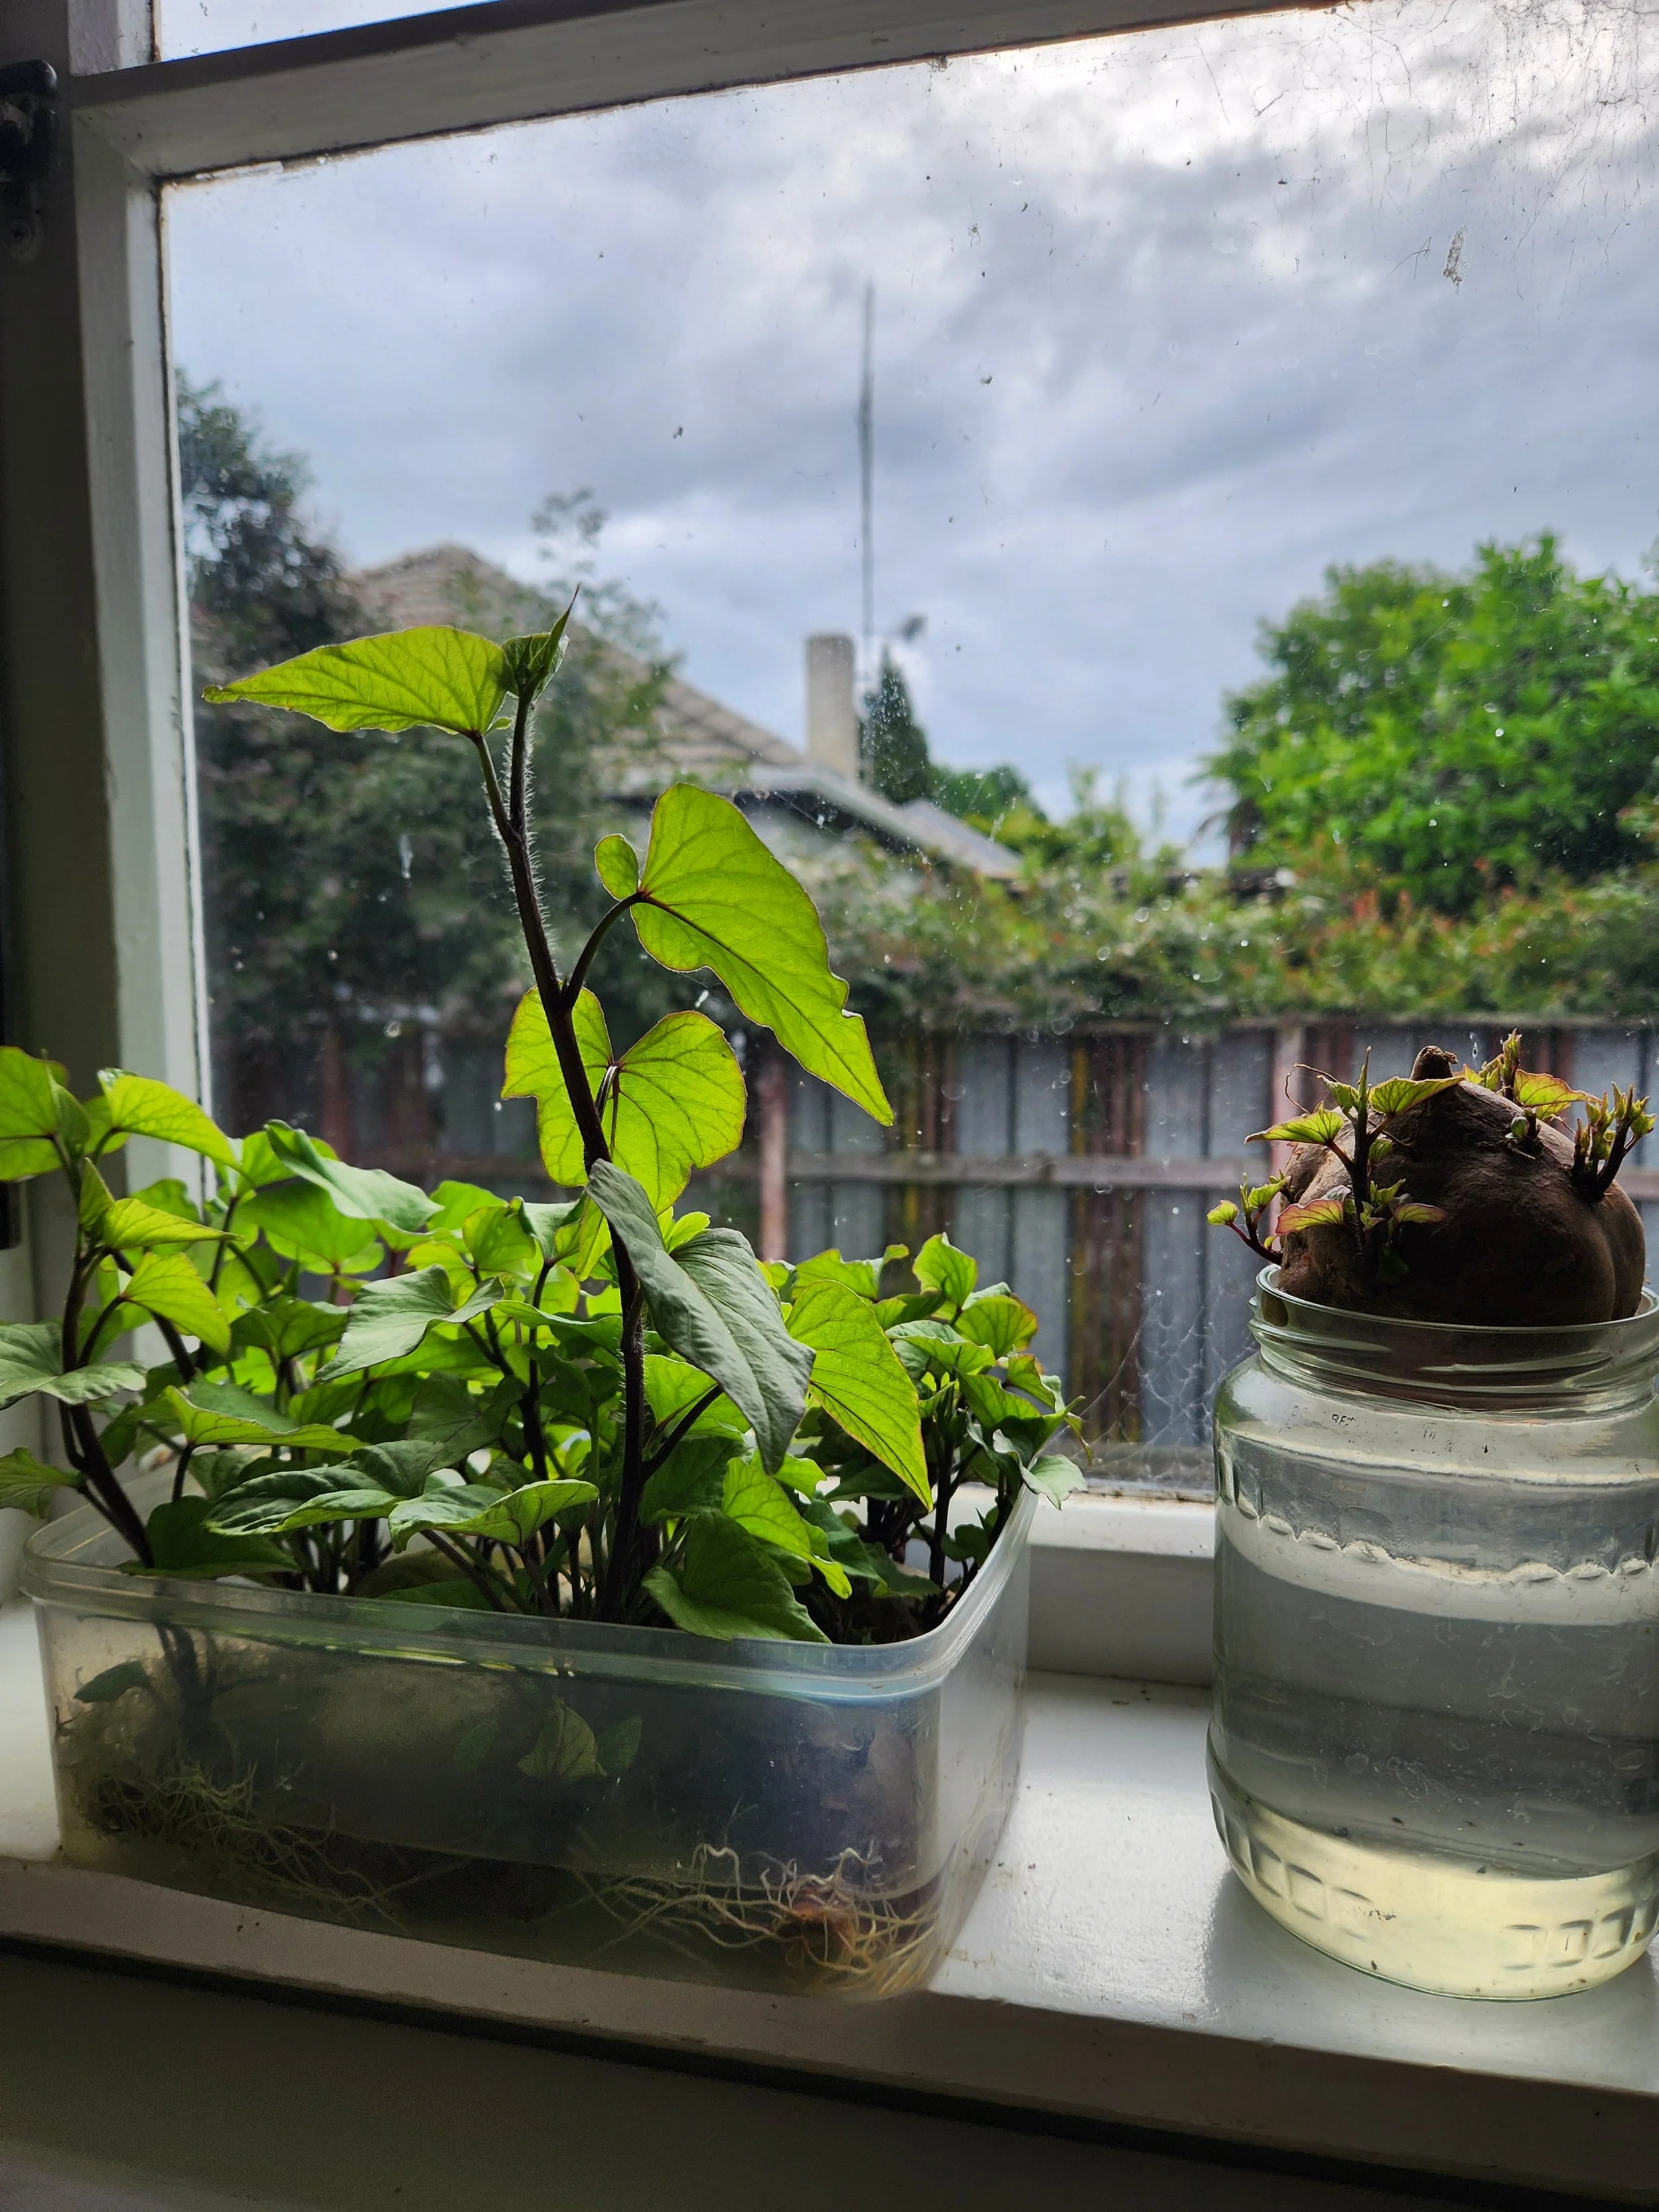
To start growing kumara, you’ll need to produce ‘slips’ or tipu, which are the shoots that grow from the tuber. Here’s how:
Water Method: Place halved kumera (I like to do a few at a time) in a clear container (without the light, bacteria or more likely to form). Place in a warm, sunny spot and change the water every few days.
Soil Method: Bury a whole kumara halfway in moist potting soil, leaving part exposed. Keep the soil warm and slightly damp.
In about 2–4 weeks, tipu (slips) will begin to emerge from the kumara.
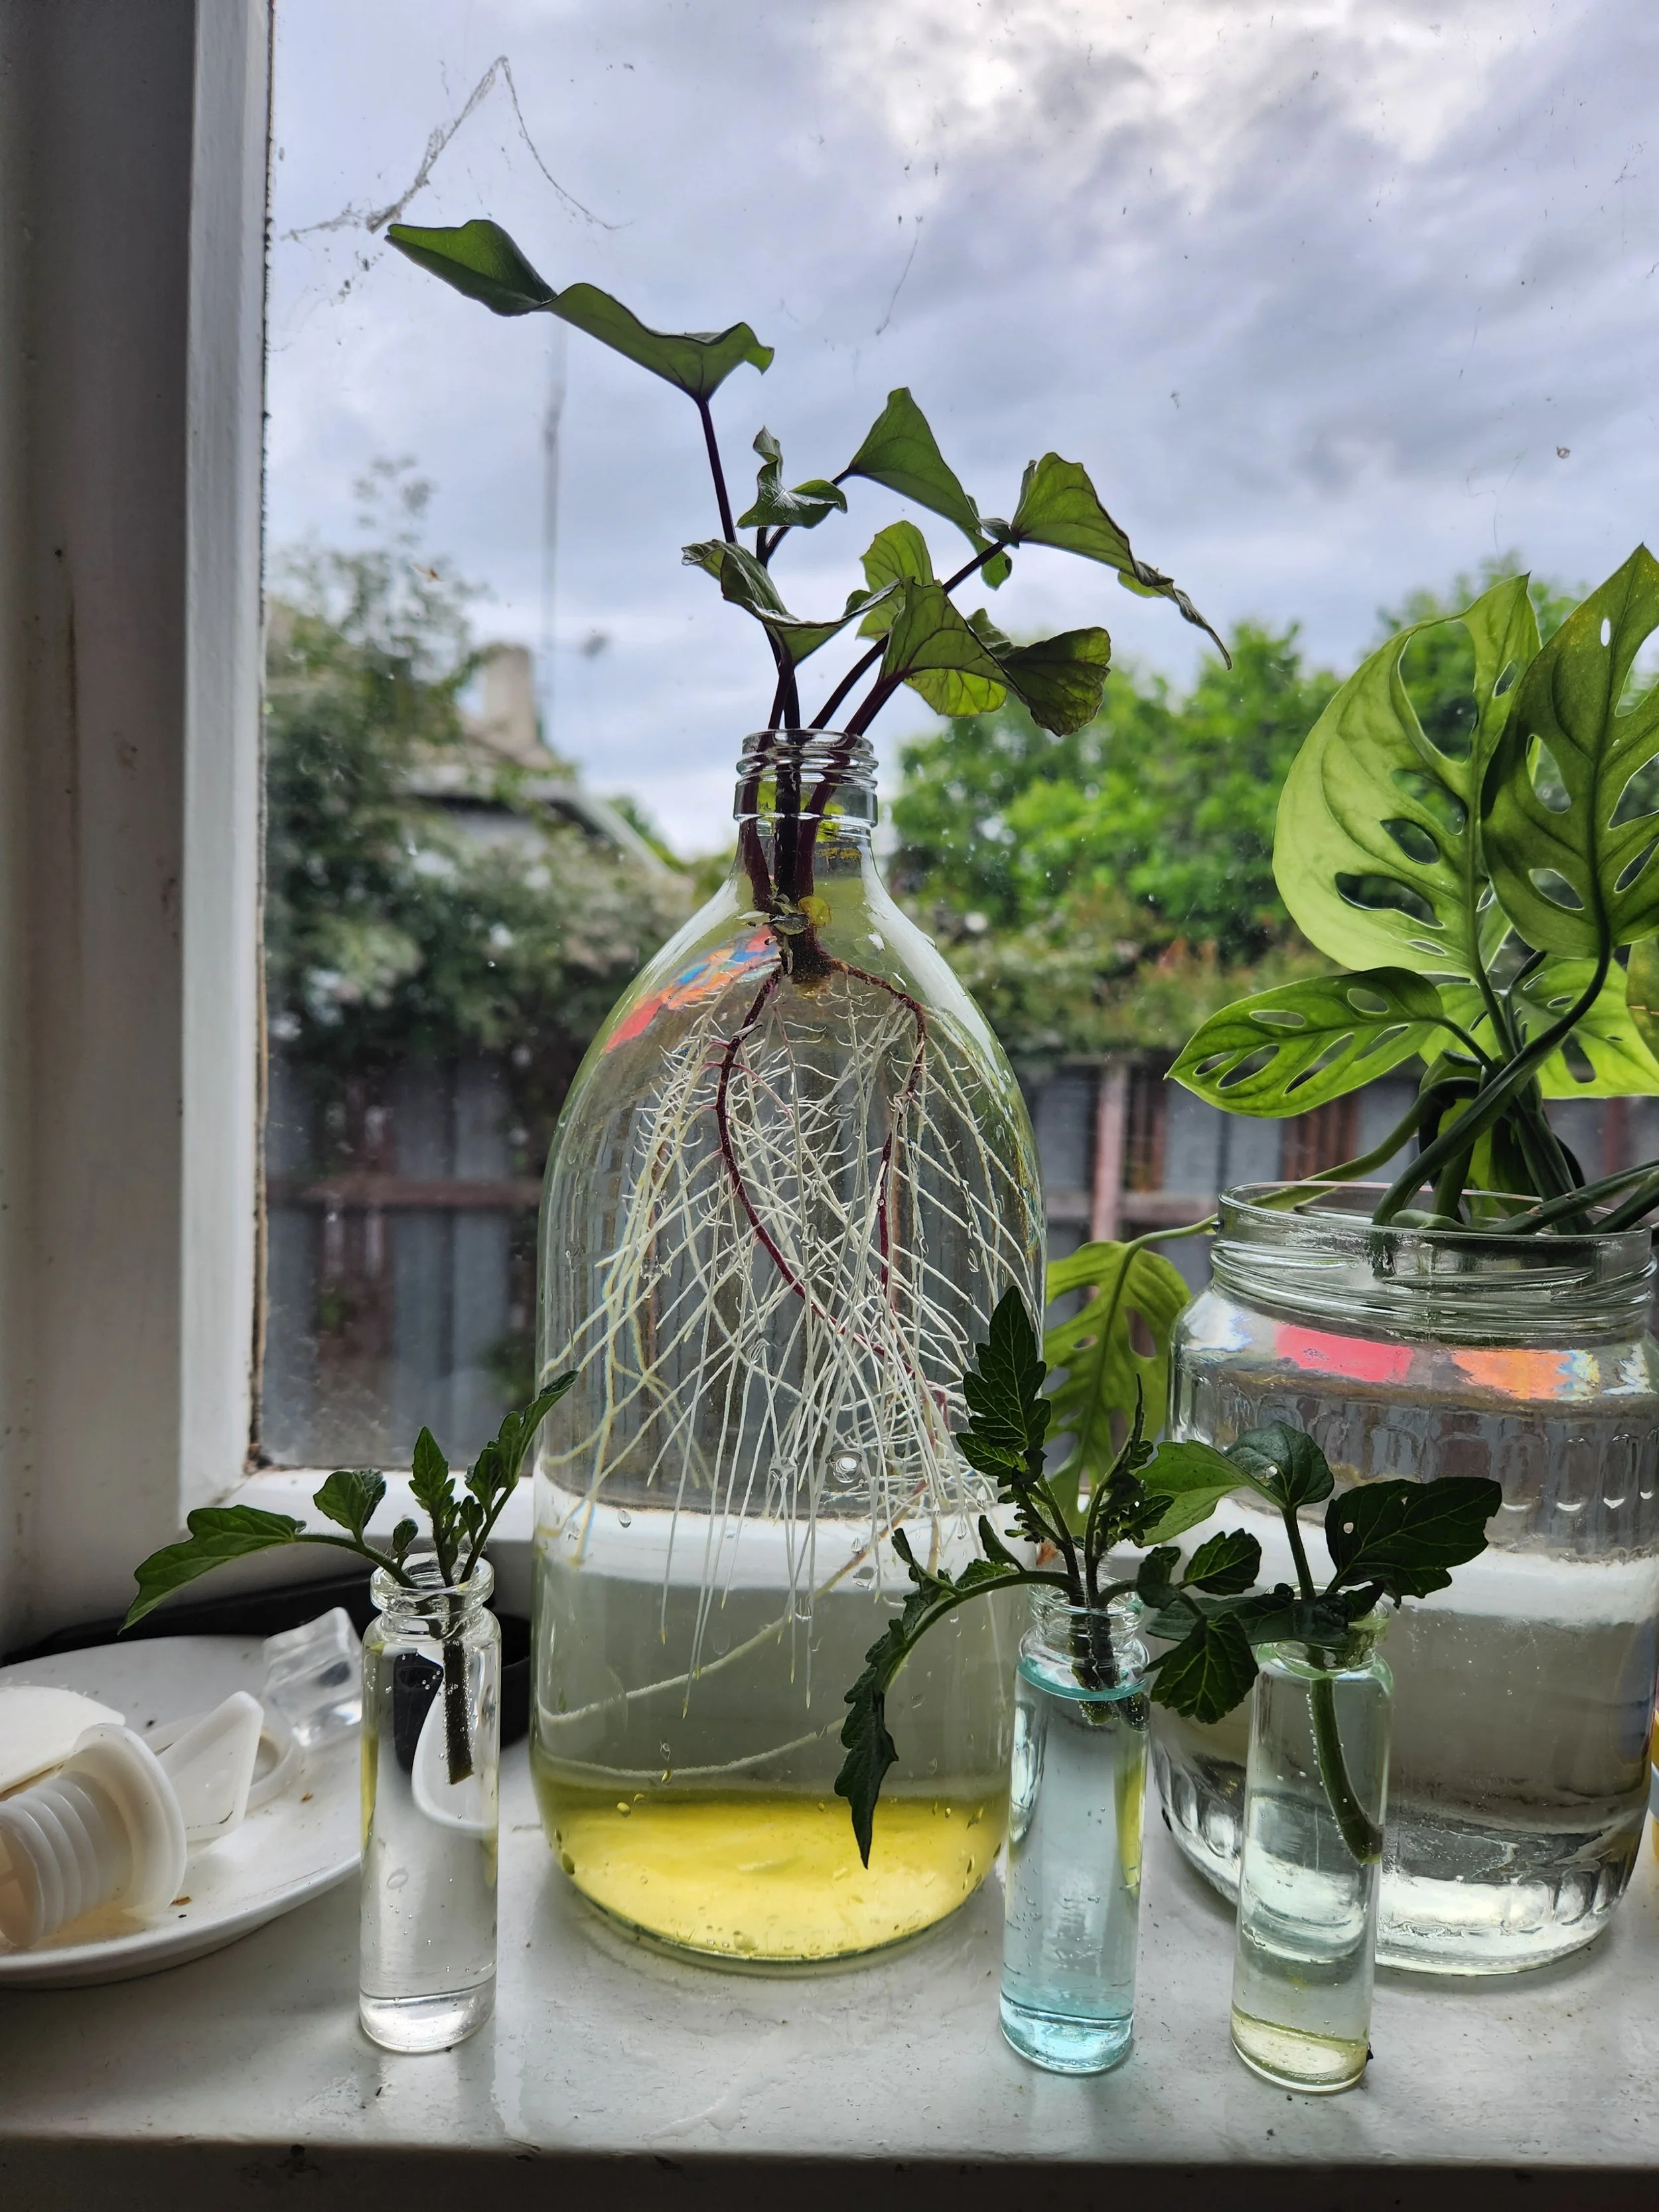
Separating and Planting Tipu
Once the slips are 10–15 cm long, gently twist or cut them off the mother kumara. Place them in a glass of water until they develop roots (this takes about a week). Once rooted, they’re ready to plant.
Planting Kumara Slips
Choose a sunny location with very well-drained, loose soil.
Space the slips about 30 cm apart in rows, with at least 60 cm between rows.
Bury the roots and lower stem, leaving the leaves above the soil.
Water well after planting.
Caring for Your Kumara Plants
Watering: Keep the soil consistently moist but not waterlogged.
Mulching: Apply mulch to help retain moisture and suppress weeds.
Training Vines: Kumara vines can spread widely. You can gently redirect them to keep them manageable.
Harvesting Kumara
Kumara is ready to harvest in about 4–6 months when the leaves start to yellow and die back. Carefully dig up the tubers, taking care not to damage them. Cure them by drying in a warm, dry place for about a week to improve their sweetness and storage life.
Troubleshooting Common Issues
Kumara Won't Sprout: If your kumara isn't sprouting, it may have been treated to prevent sprouting. Try using organic kumara and ensure it's kept warm and slightly damp.
Slips Wilting After Transplanting: Transplant slips in the evening or on a cloudy day and water them well to reduce transplant shock.
Slow Growth: Poor soil conditions or insufficient sunlight can slow growth. Ensure your kumara is planted in well-draining, loose soil with full sun exposure.
Pests and Diseases: Kumara can be affected by aphids, whiteflies, and fungal diseases. Use neem oil for pest control and avoid overwatering to prevent fungal issues.
Tubers Rotting Underground: Overwatering or heavy, poorly drained soil can cause tuber rot. Improve drainage by adding compost or planting in raised beds.
Growing kumara from supermarket-bought tubers is an easy and rewarding process. With just a bit of effort, you can turn a single kumara into a decent harvest.